Smoky Mountain Rain

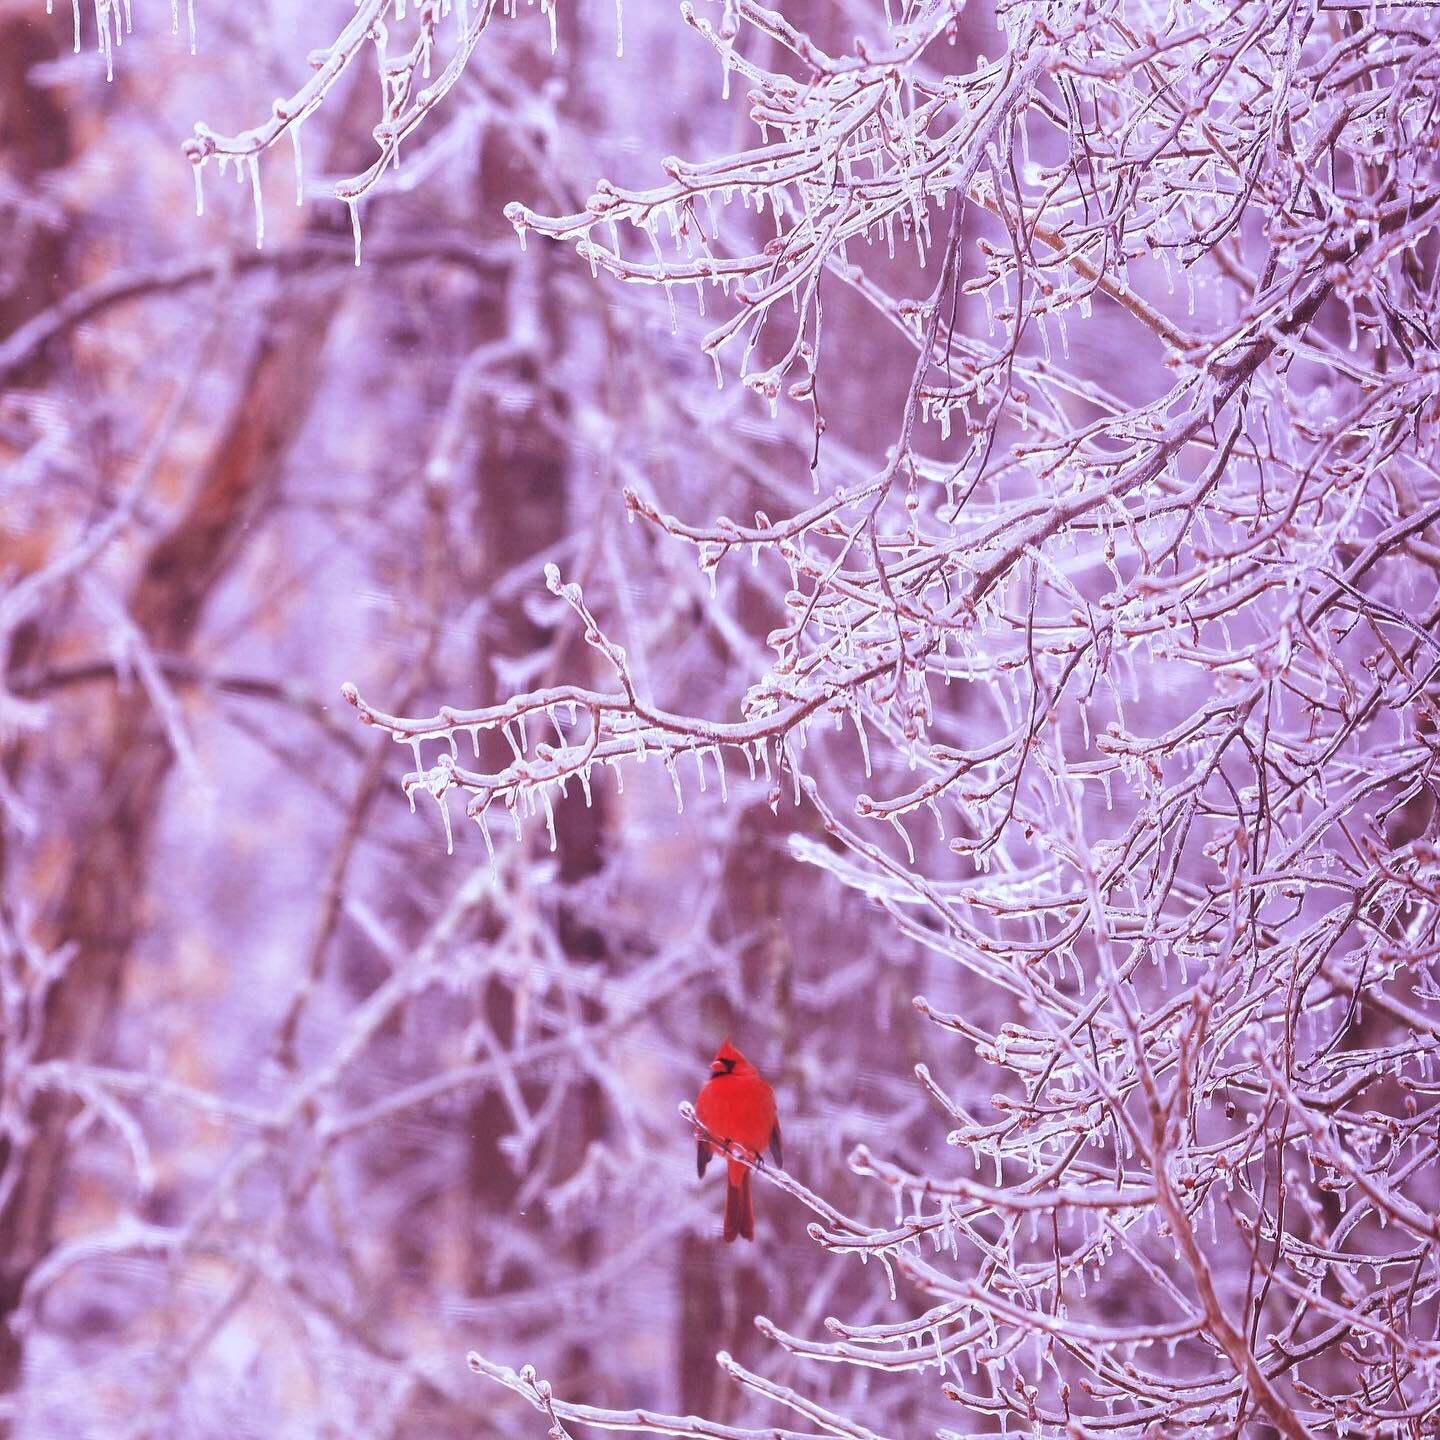
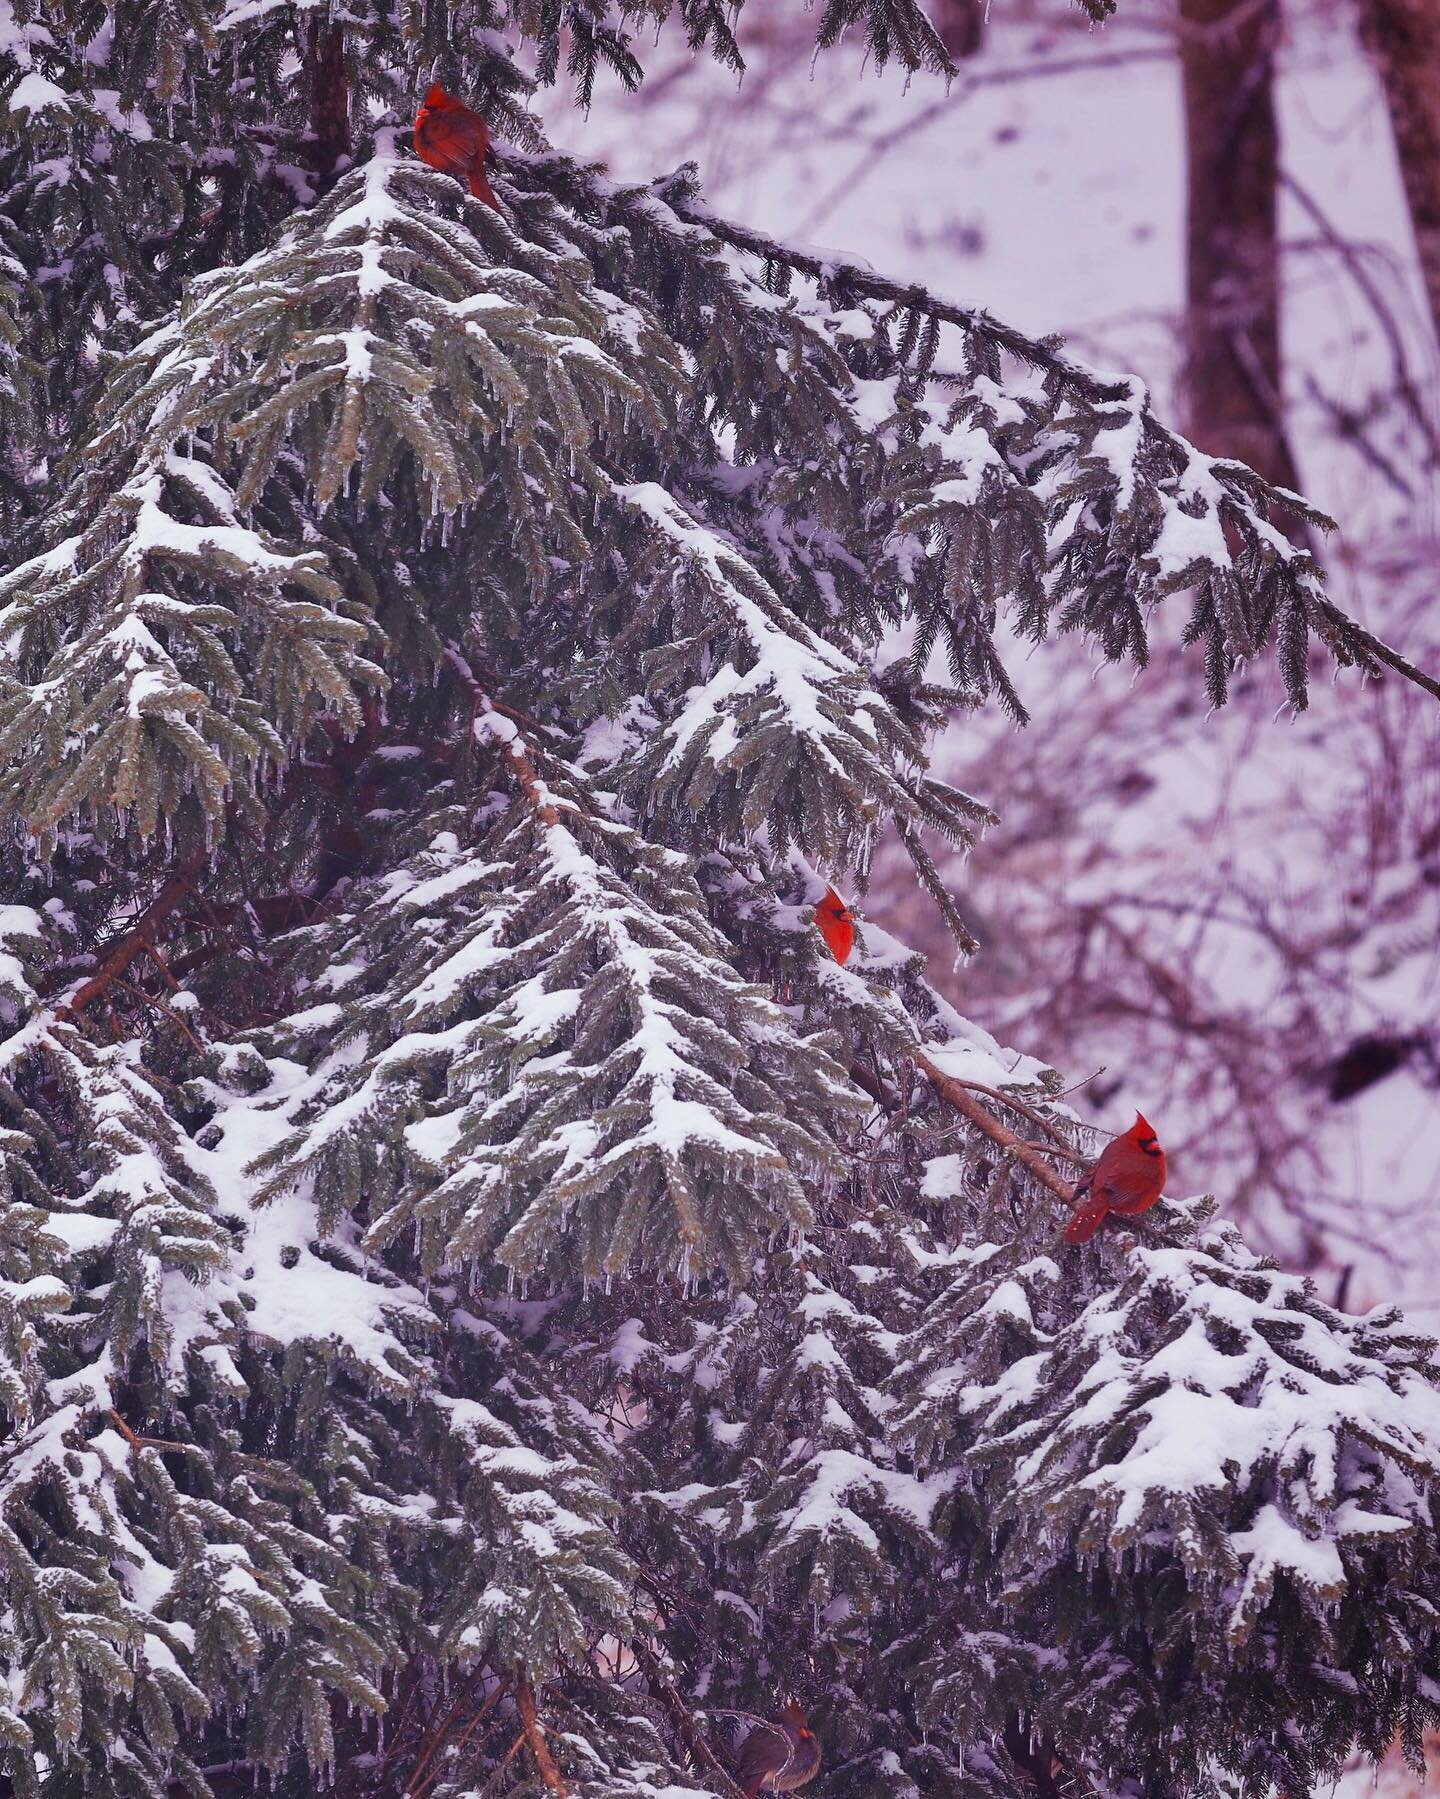
I was hoping for at least one day of rain for atmospheric enhancement on our Smoky Mountain photography trip and boy did we get one. I have more portfolio images from the rainy day than from all others, but I didn't need 1-2 inches of rain, just a mist or a sprinkle would have been just fine. I love the saturation that the rain provides. My gear selection for rain prevention included garbage bags and umbrellas. Many other photographers recommend the garbage bag option as a way to demonstrate frugality. I have now yielded to the more elegant option for rain protection which includes a Kata E-702 camera rain cover from Amazon. I received the unit a few days ago and while I haven't had it out in the elements, it appears to be just what I need. It can cover my 5DMKII with the 24-105 zoom and even the 70-200 f2.8 IS zoom. You can find more information at Amazon or by Googling Kata. This will now be a permanent part of my supplemental bag for those rainy/snowy days. Can't wait to use it on our return Smoky's trip in April!
Leaves

Experimenting with interpretation is one of the most enjoyable aspects of photography today. I must confess that I don't always know at the time of capture how I want the image to appear in the final state. Brookgreen Gardens stood out to me as a place of structure. The complex entanglement of the Oak trees, the beautiful sculpture work on display, and the lines and form of leaves and plants. This plant has a very green color to the leaves, but I found that too distracting from the original motivation for the image and that was the structure and lines. I didn't really envision a black and white presentation so I played around with some of the Light Room default color schemes. The one that represented my original vision most clearly was the "aged" scheme. The leaves really seem to respond to this color presentation. I apologize for not having comparison images, but I also believe they may be more distracting than educational. My main point is to experiment with all of the tools we have available today. Knowing what tools are available can only make one more proficient in the field knowing how to apply those tools to the interpretation at the moment of capture. I will continue to share with you more images from Brookgreen over the coming weeks. Take care.
Oak Tree-Revisiting the image

While I enjoyed the "unreal" presentation of the original "Oak Tree Canopy", there were two items that continually gnawed at me. One was that the midtones were just too MIDTONED! So I applied another curve to the image to raise the mid and upper tones a bit on the scale. The second bother was that the image looked too "squatty." It simply looked compressed. So I elongated the image with the transform tool in PS and I like the aspect ratio much better now. Since I make no bones about manipulating images, this image is certainly no attempt at representing "reality." I will address the reality of photography off and on in this blog, but as you may have guessed, the camera is certainly not a truth-teller. I hope you enjoy the discussion of the revisit and have a great day.
Oak Tree Canopy - An Unreal Vision

In the field I try my best to just respond to interesting light that catches my eye. Sometimes it may be the brilliant color that is being revealed while at other times it may be textures and the play of the light on the subject. In this particular case, I believe it was both, but my first interpretation led to a black and white presentation and minimizing the impact of "color" in the image.
Technically, this is a bit different in that it is a vertical panorama of two images taken with the 90mm tilt/shift lens on the Canon 5D MarkII. The tilt/shift permits me to simply shift the lens from top to bottom to increase the field of view and minimize field distortions as a result of changing the angle of the camera. This was also my first real outing with the 5DMKII and I must say it performed very well.
I do encourage you to click on the image to see a larger presentation. Viewing the image on a full screen, it certainly strikes me as something "unreal", but yet this interpretation does exactly what I want it to do in presenting the texture of the complex canopy of branches and hanging moss with the dappled light of mid-morning. To contrast this presentation, I hope to soon be posting a color interpretation so that we can perhaps compare the "real" and "unreal" interpretations afforded by the same image.
I do love the old oaks of the south with their hanging moss scattering light amongst their branches. To me the oaks really shine with the sun providing a mostly backlit situation, which can be technically challenging from a dynamic range standpoint. There are other images still "stewing" in the Light Room "pot" so please check back for more presentations and interpretations and a discussion of the approaches to each individual image.
Horsehead: A refinement in processing
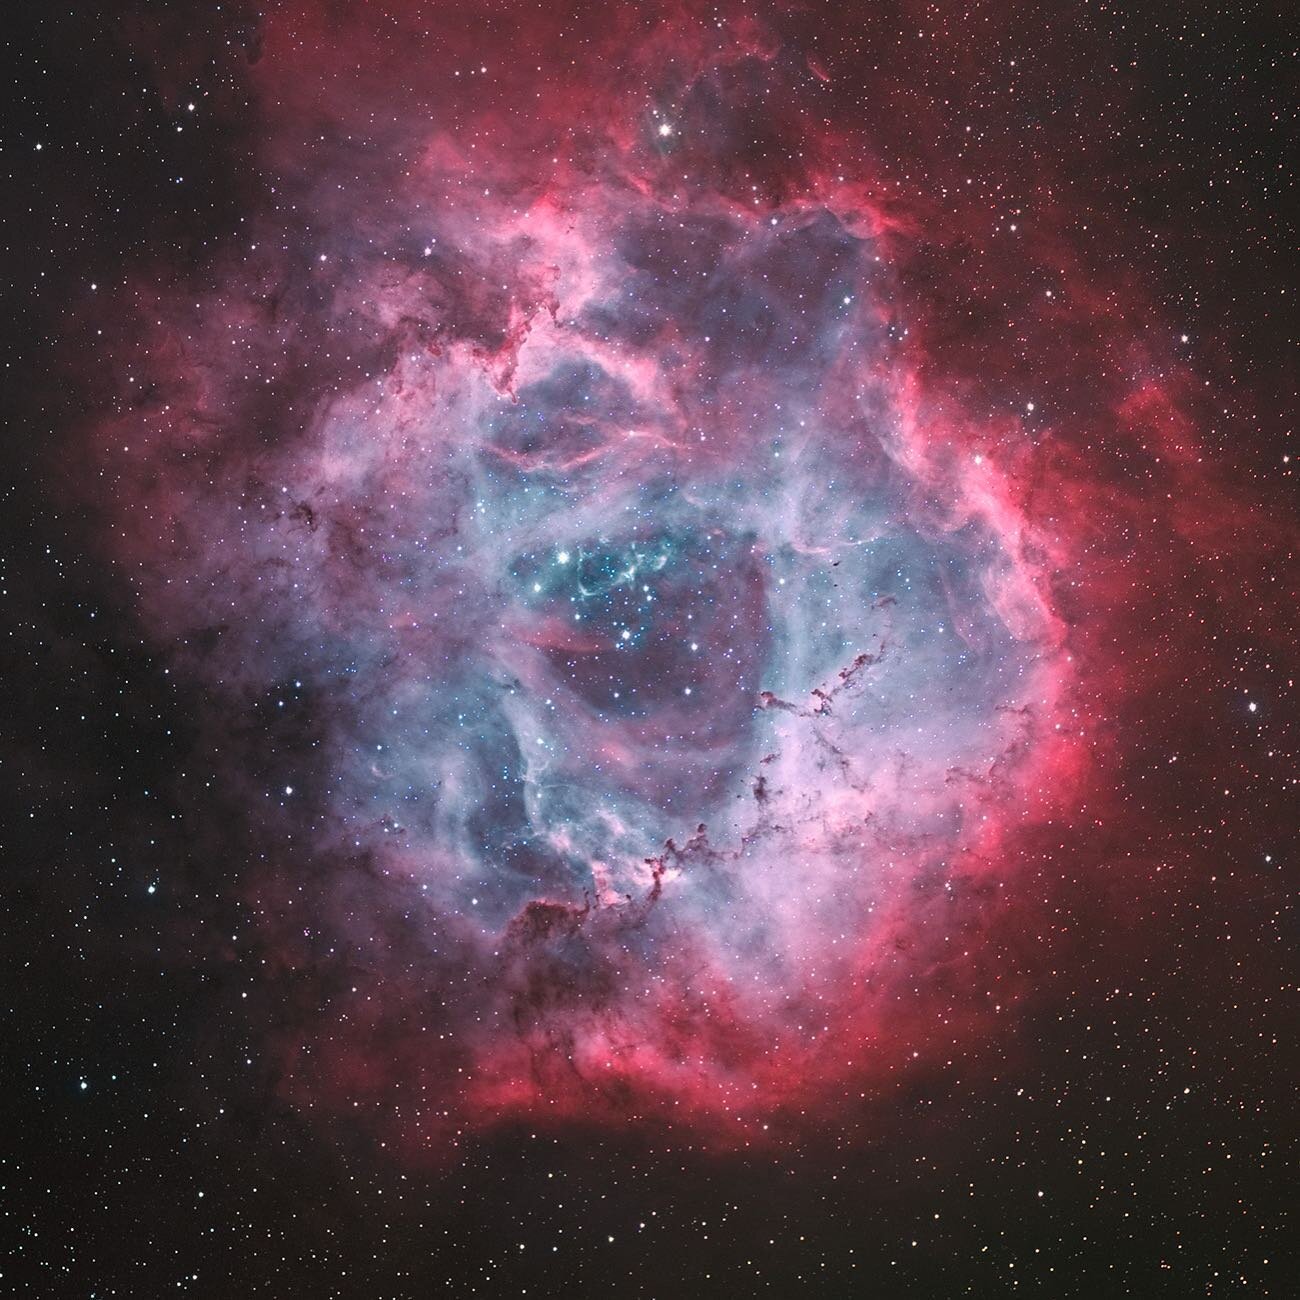
With some time to process, I have dug into the Horsehead and astronomical workflow to find the best approach. My main efforts are built around noise reduction and determining at what point to apply noise reduction software. The choices are to apply in RAW conversion in LR or to wait and use a PS plugin or 3rd party independent software. I have previously used Noise Ninja after the image is nearly complete, but was recently introduced to Noiseware. I am using the Pro version of Noiseware as a PS plugin. The main advantage to Noiseware is that I can use it in my normal workflow within PS and can use color profiles effectively. Noise Ninja did not work well with color profiles as an independent app. Noiseware has numerous controls, too numerous to mention here, for controlling how and where the noise reduction is to be applied. My thoughts are that it might be best to add some noise reduction in the RAW file in LR and then utilize Noiseware late in the processing stage. This particular image had no noise reduction applied in LR. I am going to rework the Horsehead image with that approach and will report back with results. One thing I love about astronomical photographs is that they are so difficult to work with that it makes landscape optimization so much easier. Take care and check out Noiseware if you get a chance on some really noisy images.
One other change in workflow with this image involved applying a flat field from the RAW camera files to the image in PS. This worked very well and is now a part of my workflow. I found no advantage to applying dark frames to the image. I believe dark frames are largely a waste with the Canon 450D and that simply increasing the amount of signal is the best way to maximize the signal to noise ratio.
Jeff's Blog
Join me on photography journeys from desert landscapes to deep sky wonders.


